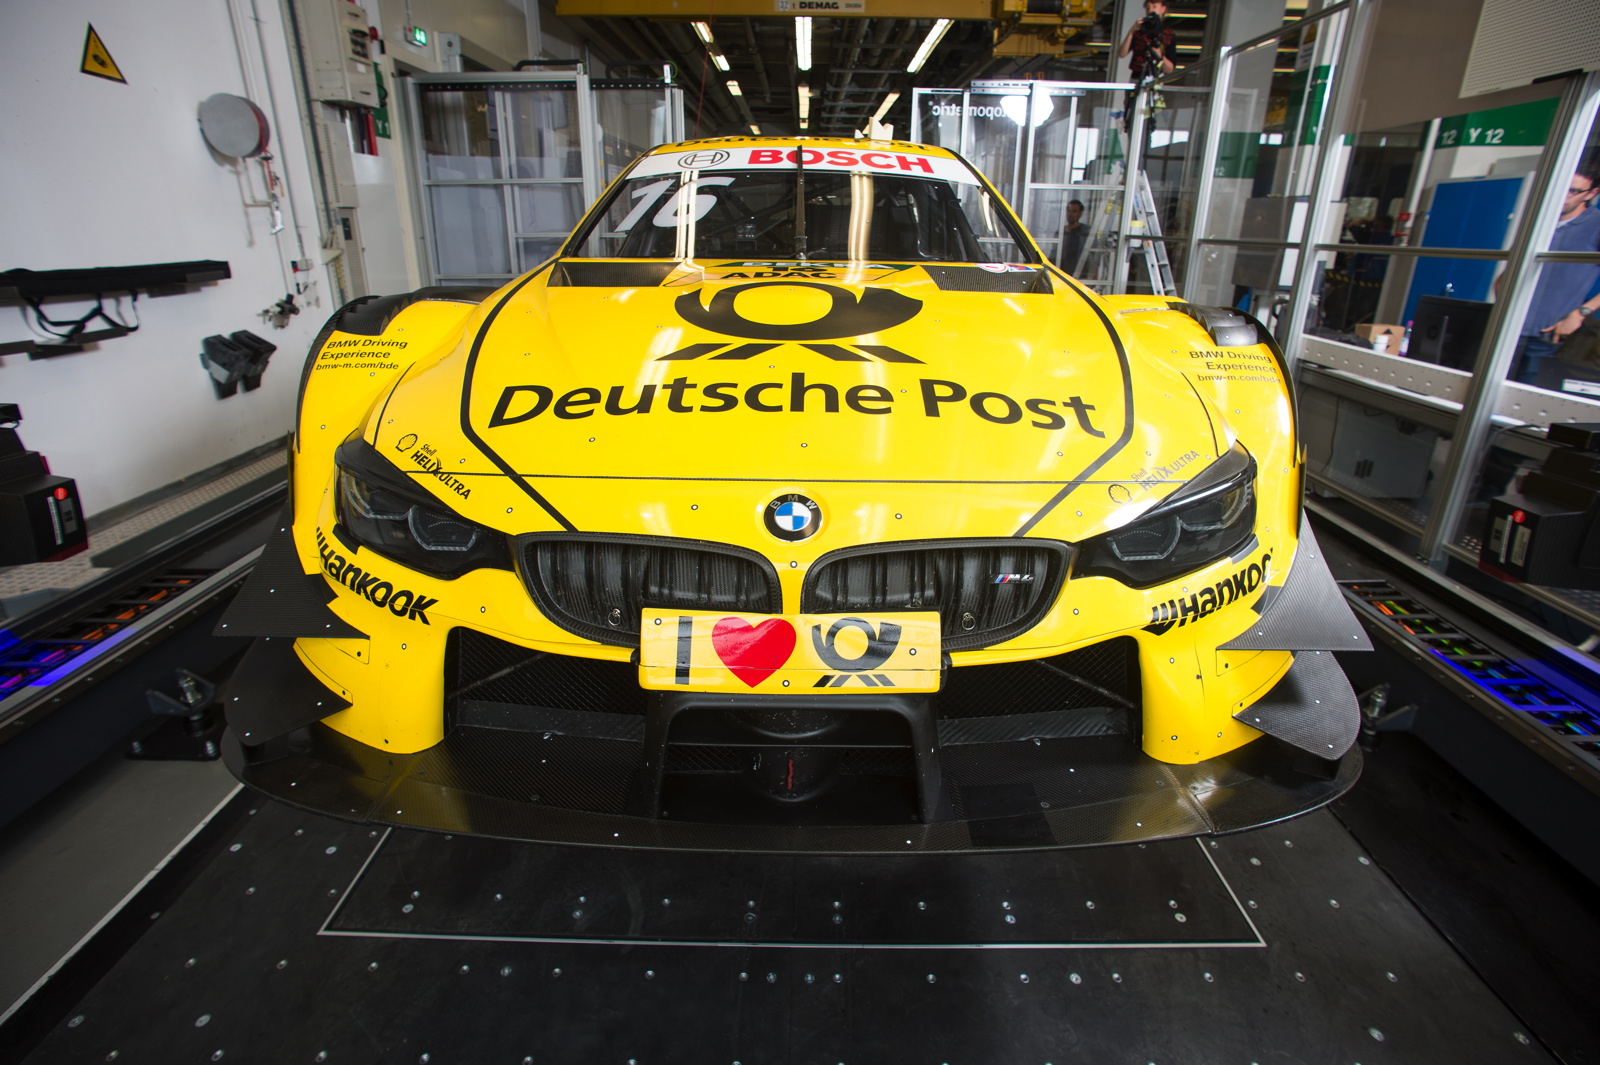
The motorsport department at BMW has long worked hand in hand with series development – and this remains the case for the quality controls on the newly-constructed BMW M4 DTM for the 2017 season. BMW Motorsport uses the same cutting-edge 3D measuring technology that is applied to production models at the BMW Group Plant Munich.
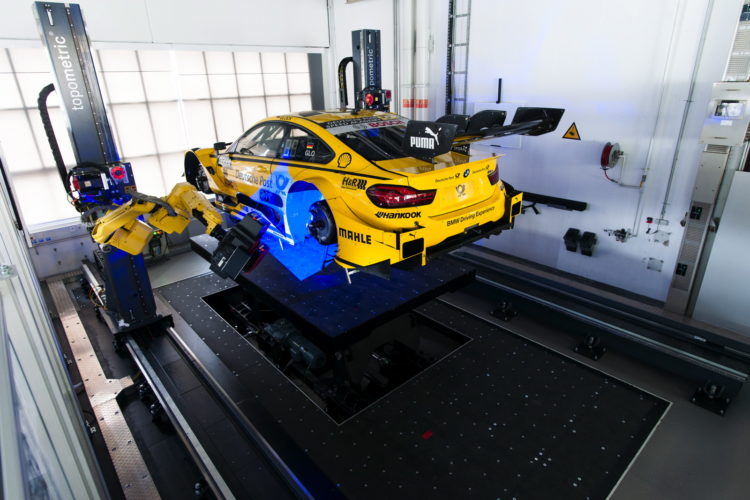
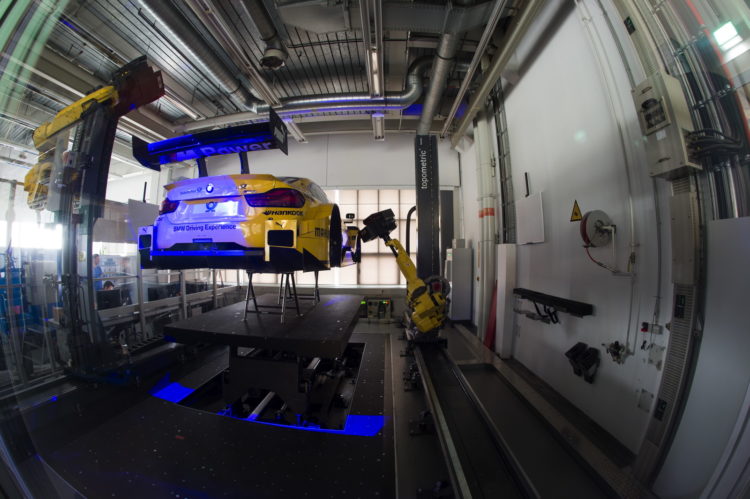
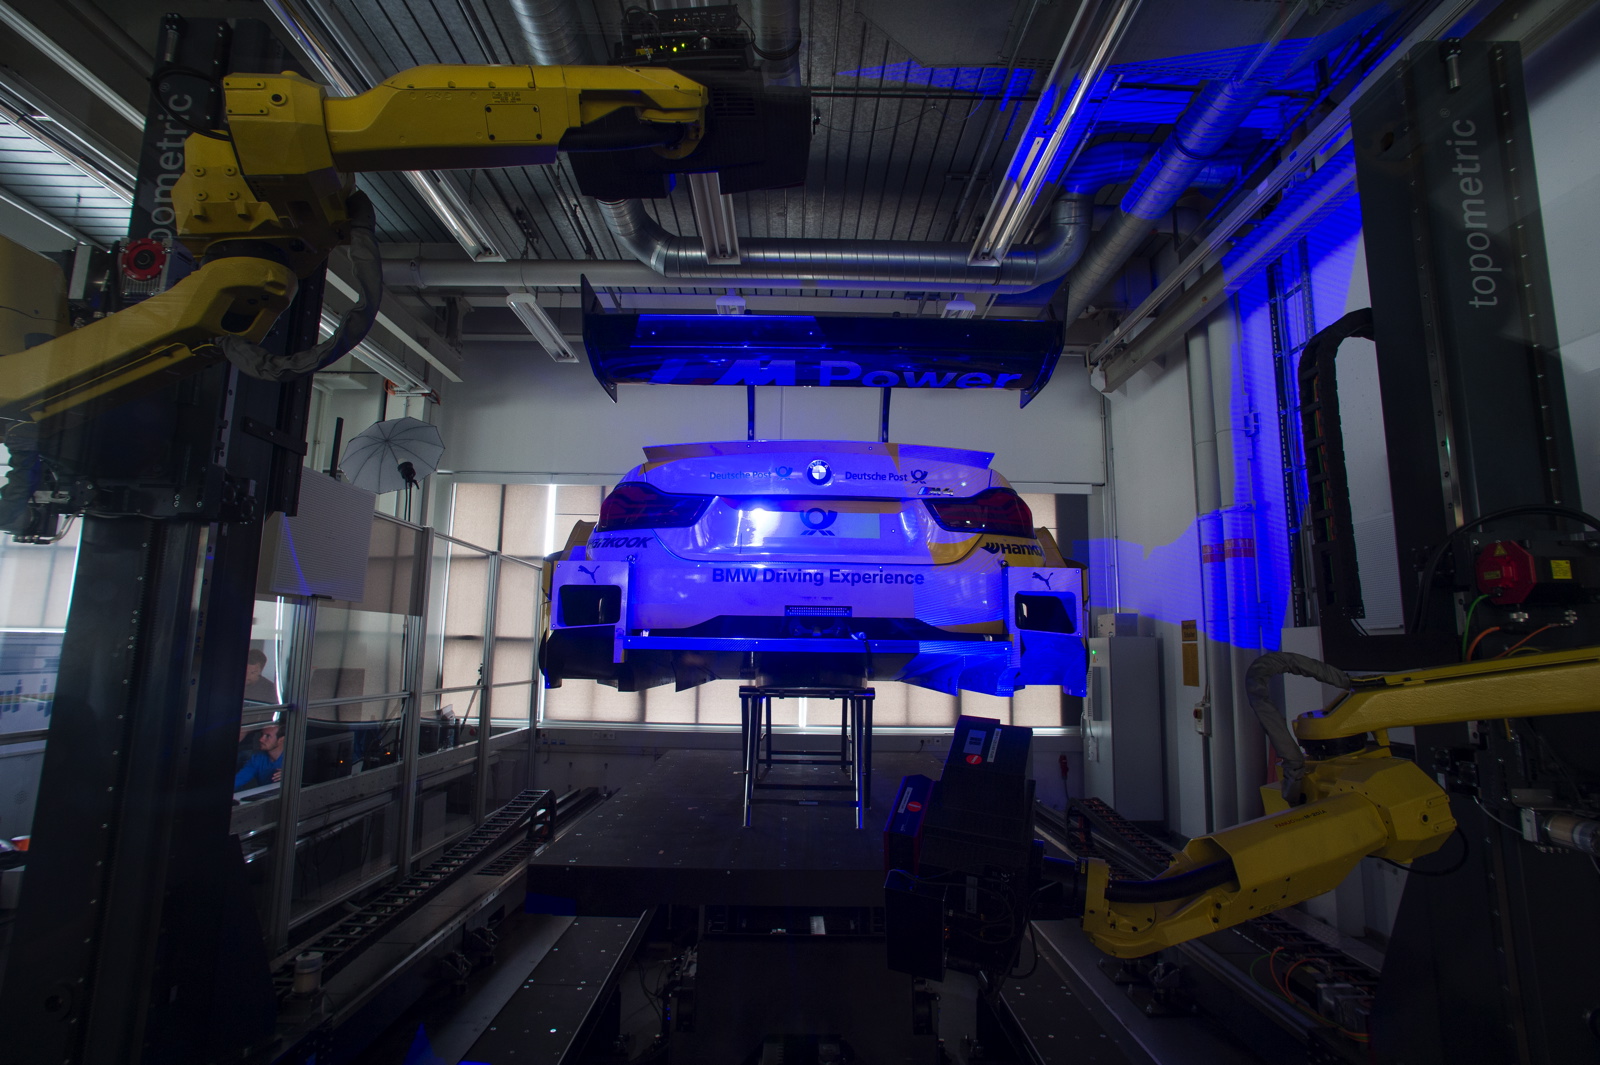
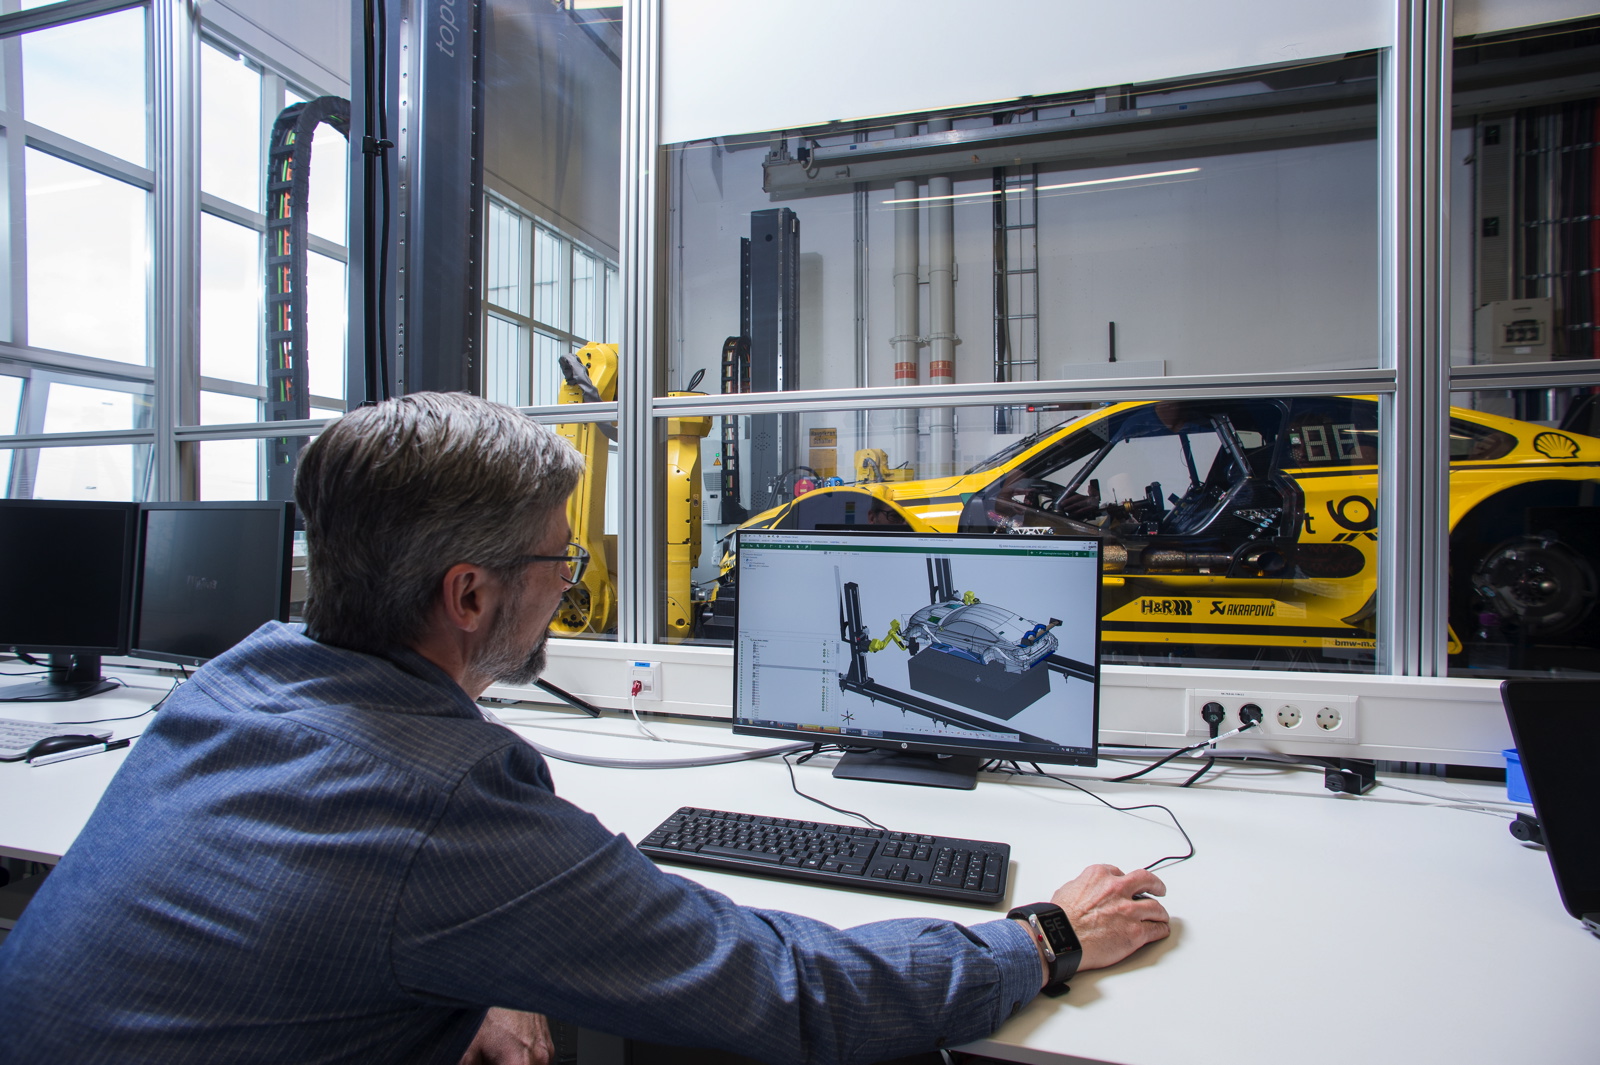
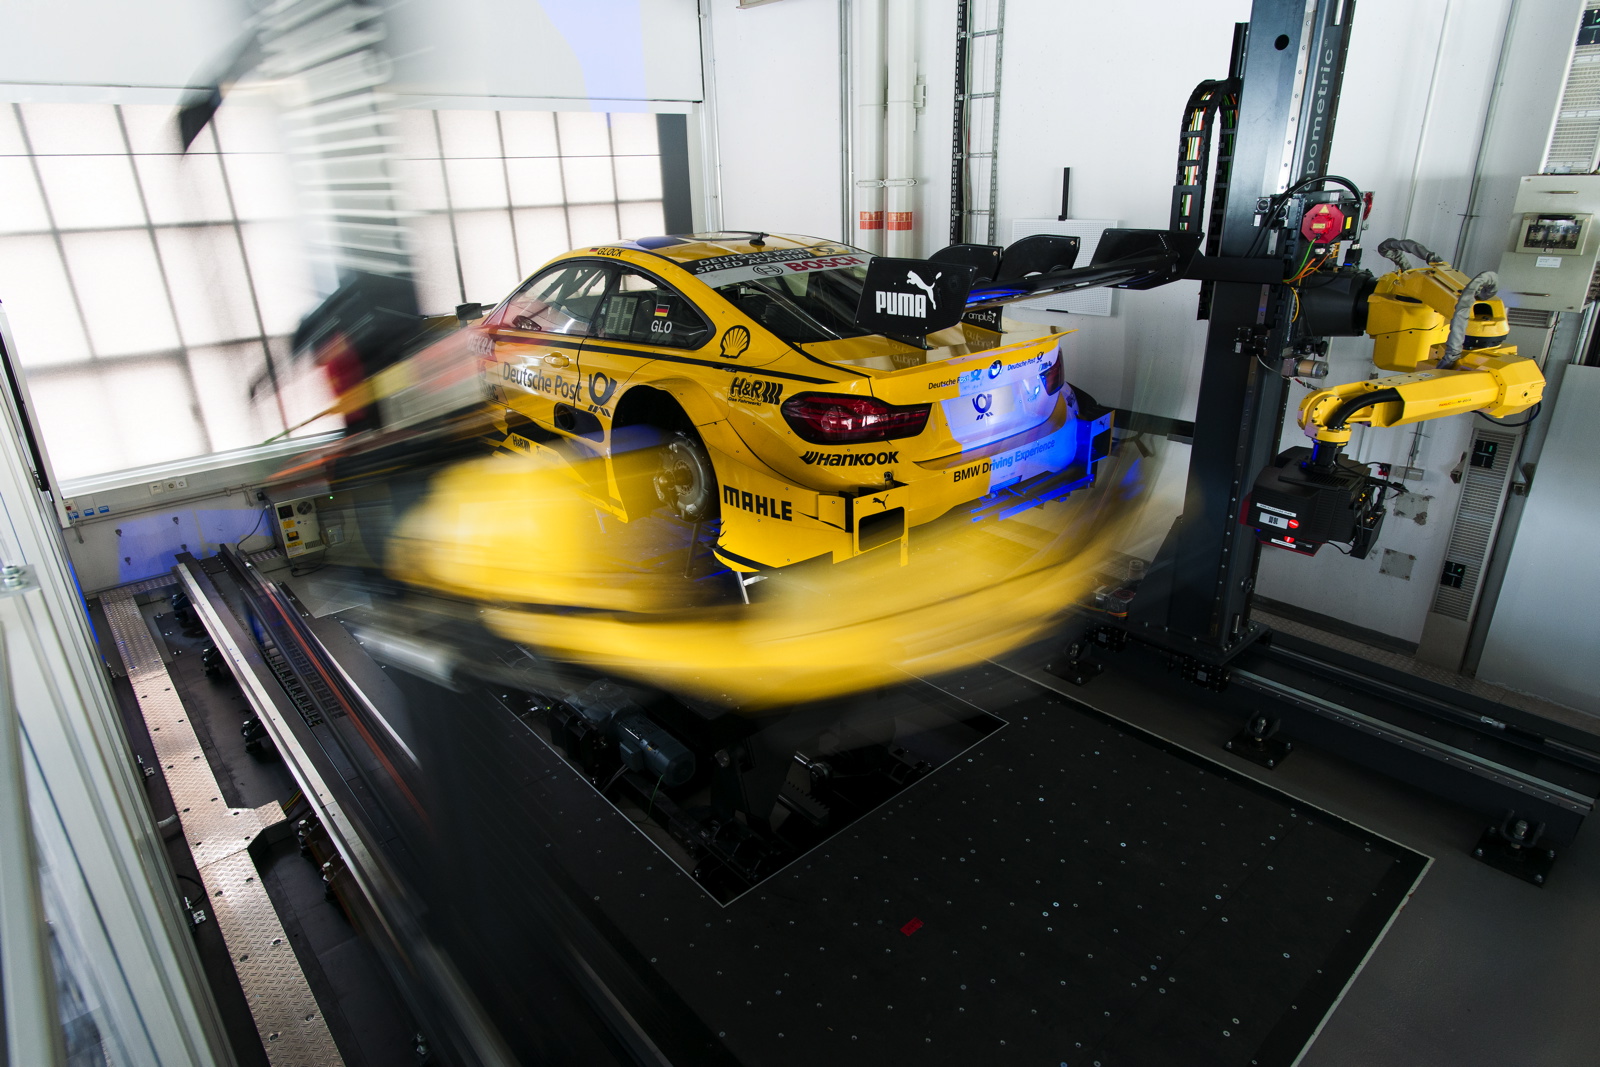
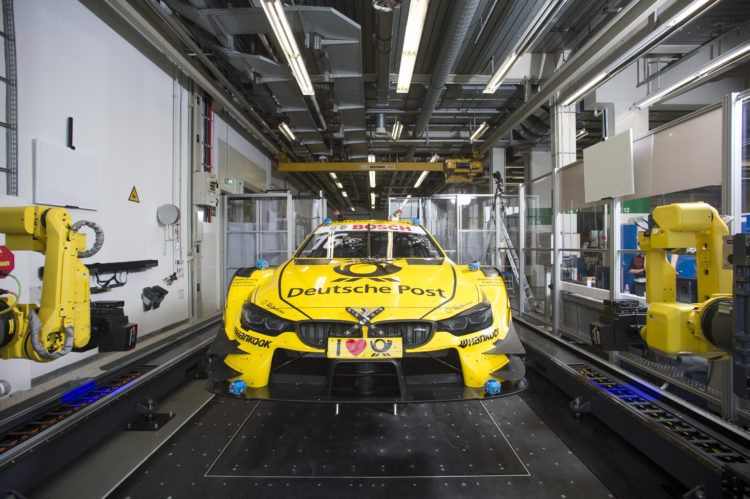
As if by magic, the two robotic arms work their way up and down the new BMW M4 DTM, scanning the chassis and all its aerodynamic components millimetre by millimetre to create the perfect 3D model – fully automated. This advanced measurement system was used for the first time in the development of the new BMW 5 Series. It has now also been used extensively by the engineers at BMW Motorsport.
Down to the last detail.
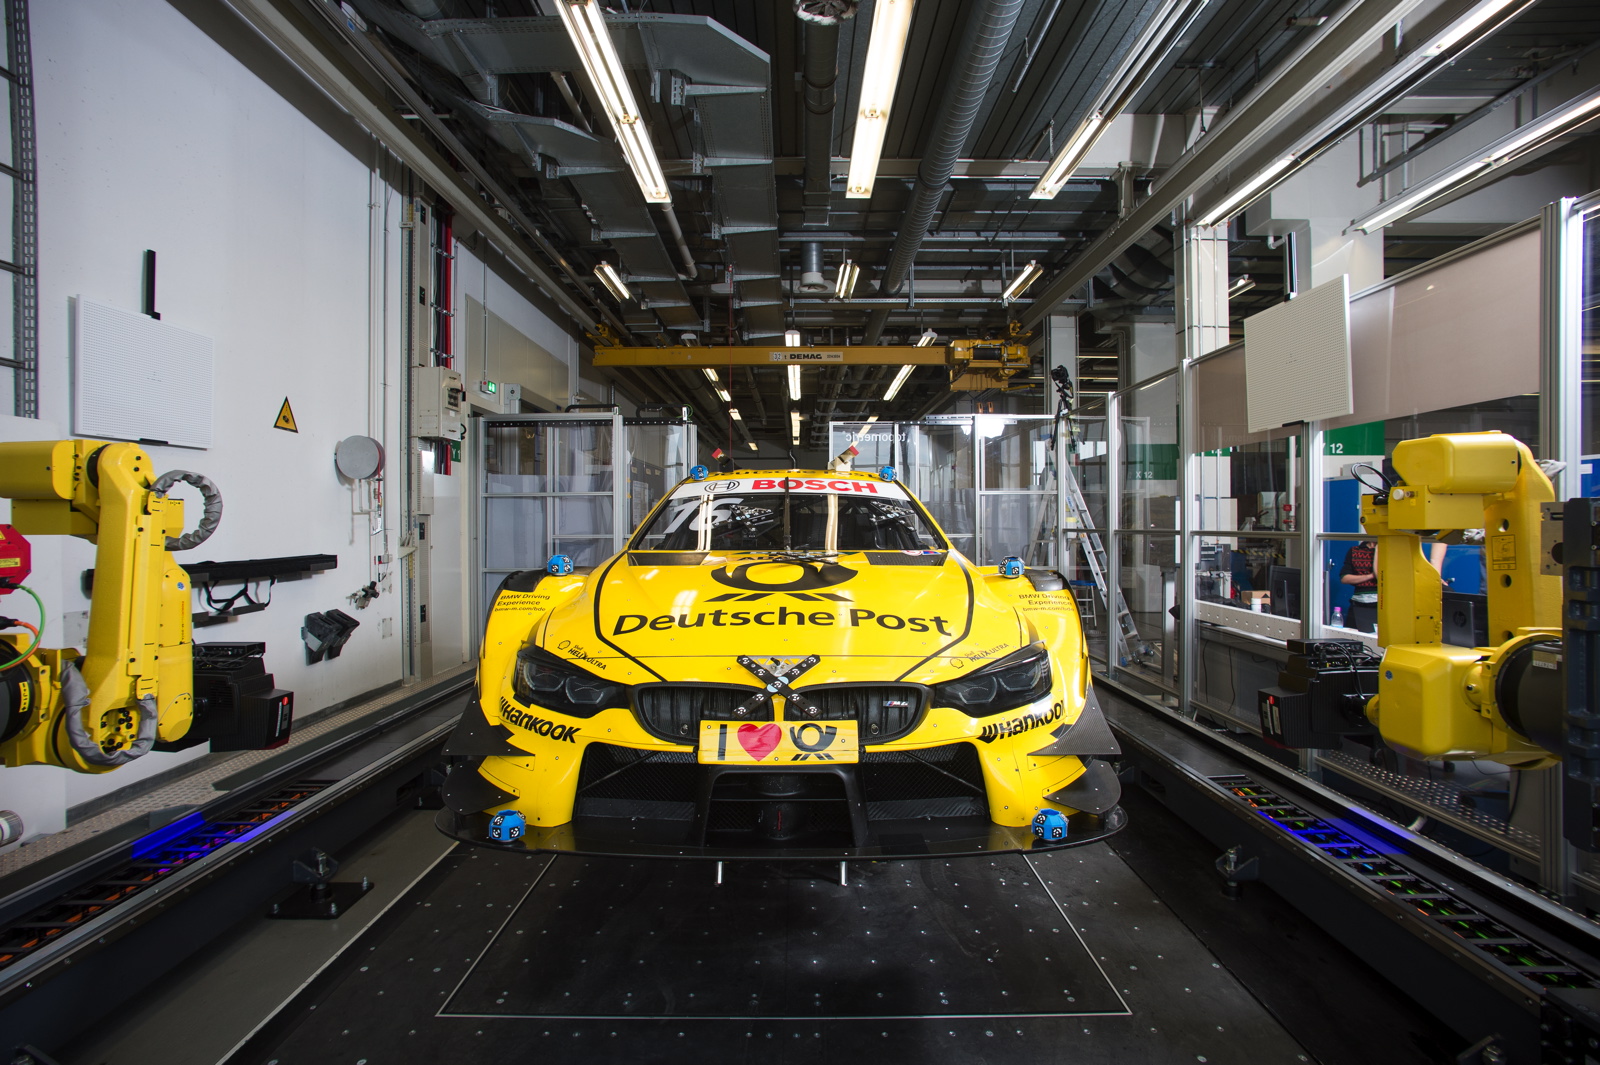
The fully-automated, optical measurement cell – the only one of its kind –provides the perfect quality control after the assembly of a race car. With such a sophisticated car as the BMW M4 DTM, which is assembled completely by hand, it is vital that all the dimensions are observed and implemented correctly. This is to ensure that the complex aerodynamics work as planned and tested but also to adhere strictly to all the specifications in the regulations. The optical measurement cell is the perfect tool for this task as it works incredibly accurately and saves a lot of time compared to previous procedures.”
In series like the DTM, all measurements regarding the cars are regulated right down to the exact millimetre. Any discrepancies from the dimensions specified can result in penalties as severe as disqualification of the car in question. This makes it imperative that, even as early as the development stage, measurements must be accurate.
Measurement precision: 100 micrometres.
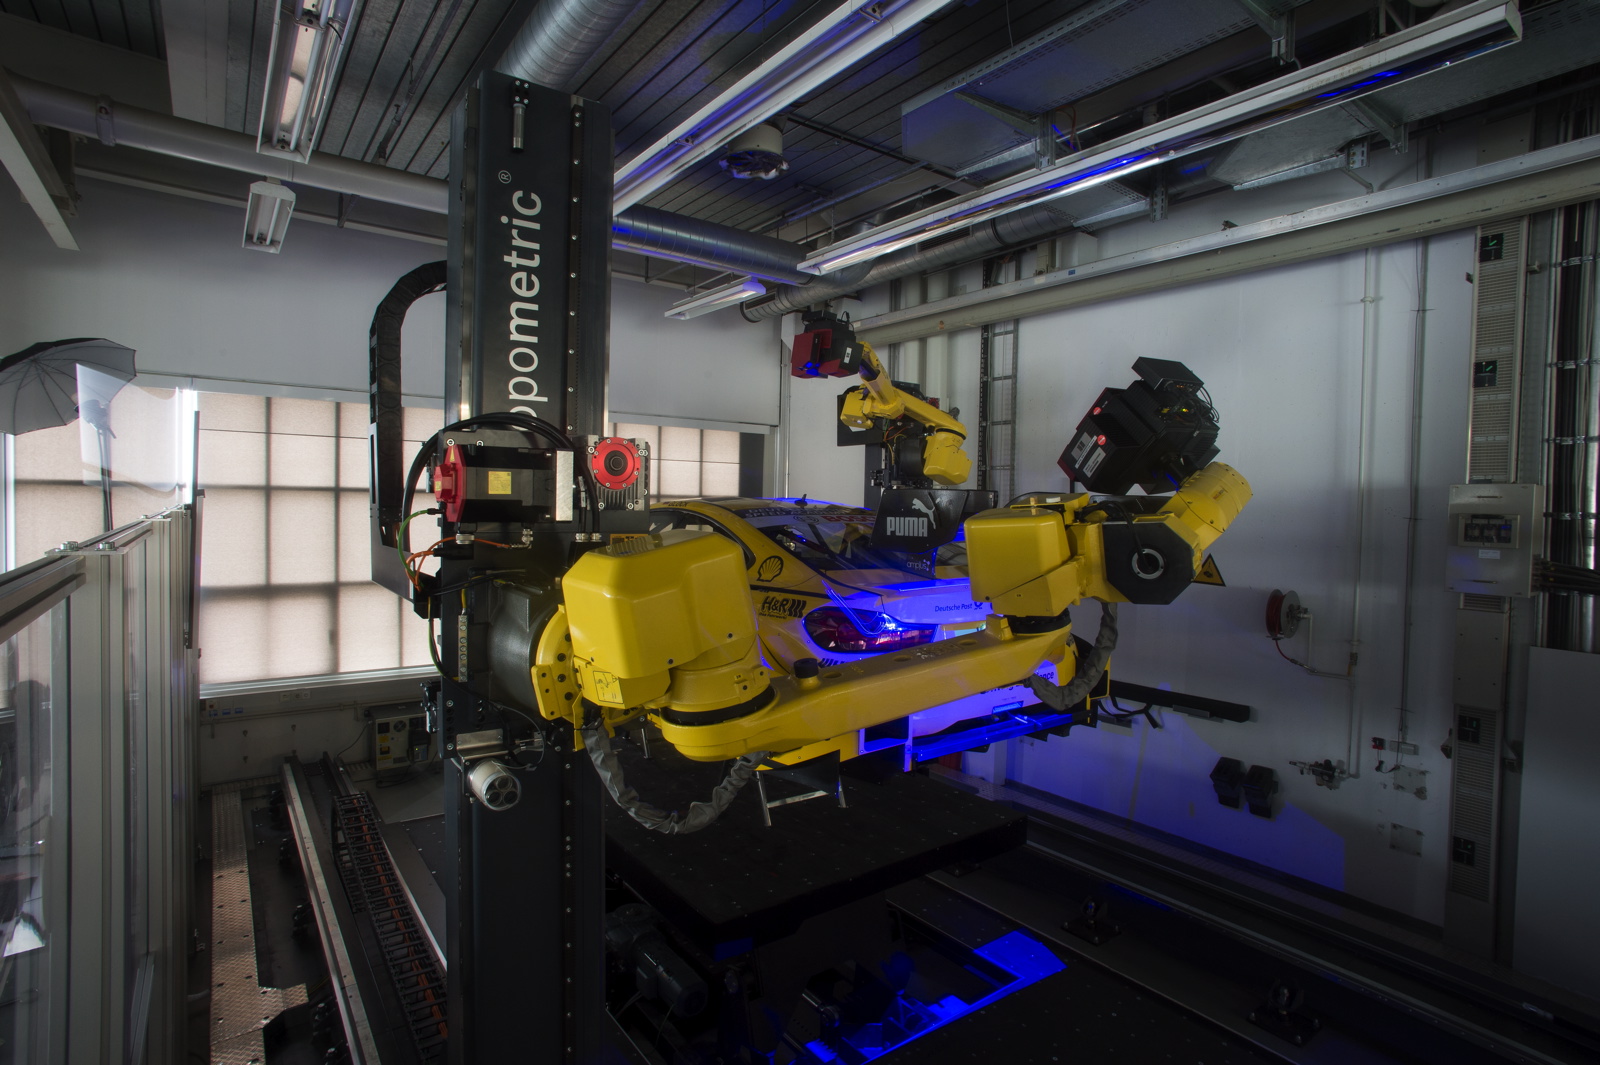
The design of the state-of-the-art measuring cell features two robotic arms, which can move freely and can both move sideways along the car on rails. This set-up allows the simultaneous use of two small, flexible robots, each equipped with two sensors, in a relatively small space. Compared to previous procedures, in which robots were only ever able to handle one side of the car at a time, and only with one sensor, the measurements now take roughly half the time and are completed within a matter of days.
The sensors first record reference points and then scan individual fields of about 80 x 80 cm in size. Based on these measurements, a computer then automatically creates a three-dimensional image of the entire car, which can be compared with the design plans. This way, possible differences, tolerances and the smallest of discrepancies can be identified. The measurement accuracy is under 100 micrometres, roughly the thickness of one human hair. Because the measuring cell is fully automated, it is also possible to perform inspections outside standard working hours, to receive results as quickly as possible and potentially gain a crucial edge over the opposition.
©Martin Hangen
3D measurement of the BMW M4 DTM captured on film.
[fvplayer src=”https://youtu.be/ydb1By-Fy4M” width=”640″ height=”360″]
[fvplayer src=”https://youtu.be/xMBW7LOawdQ” width=”640″ height=”360″]


